Rediger mine sikre og blokerede afsenderlister
Styr, hvilken e -mail der skal sendes i karantæne, ved at tilføje en specifik e -mailadresse, domæne eller IP -adresse til enten din Tillad liste eller Bloker liste. E -mail fra tilladte afsendere går ikke i karantæne, mens e -mail fra blokerede afsendere vil.
- Log på din GoDaddy -side for avanceret e -mail -sikkerhed (brug dit GoDaddy -brugernavn og din adgangskode).
- Vælg Log ind på Avanceret e -mailsikkerhed . Logonsiden åbnes.
- Indtast din e -mailadresse, vælg Log ind og Log ind med Microsoft .
- Følg prompterne på skærmen for at logge på med din Microsoft 365 -e -mailadresse og adgangskode. Portalen Avanceret e -mail -sikkerhed åbnes.
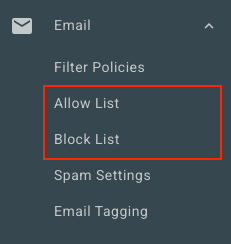
- Vælg E -mail på den venstre side. Afhængig af om du vil føje en afsender til din Tillad liste eller Bloker liste, skal du vælge en indstilling:
- Tillad liste : Vælg Tillad liste . Vælg Tilføj tillad indtastning øverst til højre.
- Blokeringsliste : Vælg Bloker liste . Vælg Tilføj blok indtastning øverst til højre.
- Under Tillad eller Bloker følgende skal du indtaste en e -mailadresse, domæne eller IP -adresse. Adskil hver afsender med et komma eller et mellemtone, eller ved at indtaste det på en ny linje.
- Vælg Gem.
Rediger Tillad og bloker lister for alle brugere
Hvis du er administrator, kan du se og redigere Tillad og Blokerede lister for alle brugere i organisationen.
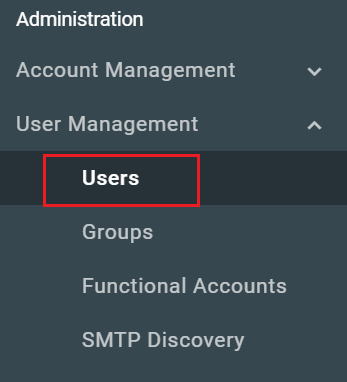
- På den venstre side skal du vælge Brugeradministration og derefter Brugere .
- Vælg Navn/e -mailadresse på den bruger, som du vil redigere.
- Øverst på siden skal du vælge enten Tillad liste eller Bloker liste afhængigt af hvilken liste du vil redigere.
Du kan se og redigere hver brugers liste ved at gentage disse trin.